- The most frequent and costly error is dose math: confusing total vial content (mg) with concentration per unit volume leads to under- or over-dosing by 10x.
- Bacteriostatic water (0.9% benzyl alcohol) is the standard diluent for multi-use reconstitution; sterile or distilled water lacks preservatives and invites microbial growth.
- Peptides are surface-active and shear-sensitive — vigorous shaking causes foaming, aggregation, and denaturation. Add diluent slowly down the vial wall and swirl gently.
- Reconstituted peptides degrade with heat, light, and freeze-thaw cycles. Store at 2–8 °C, protect from light, and use within the validated window (often 2–4 weeks).
- A reconstitution calculator removes the most dangerous variable — arithmetic — by converting your target dose into an exact injection volume on the insulin syringe scale.
Why Does Reconstitution Matter So Much?
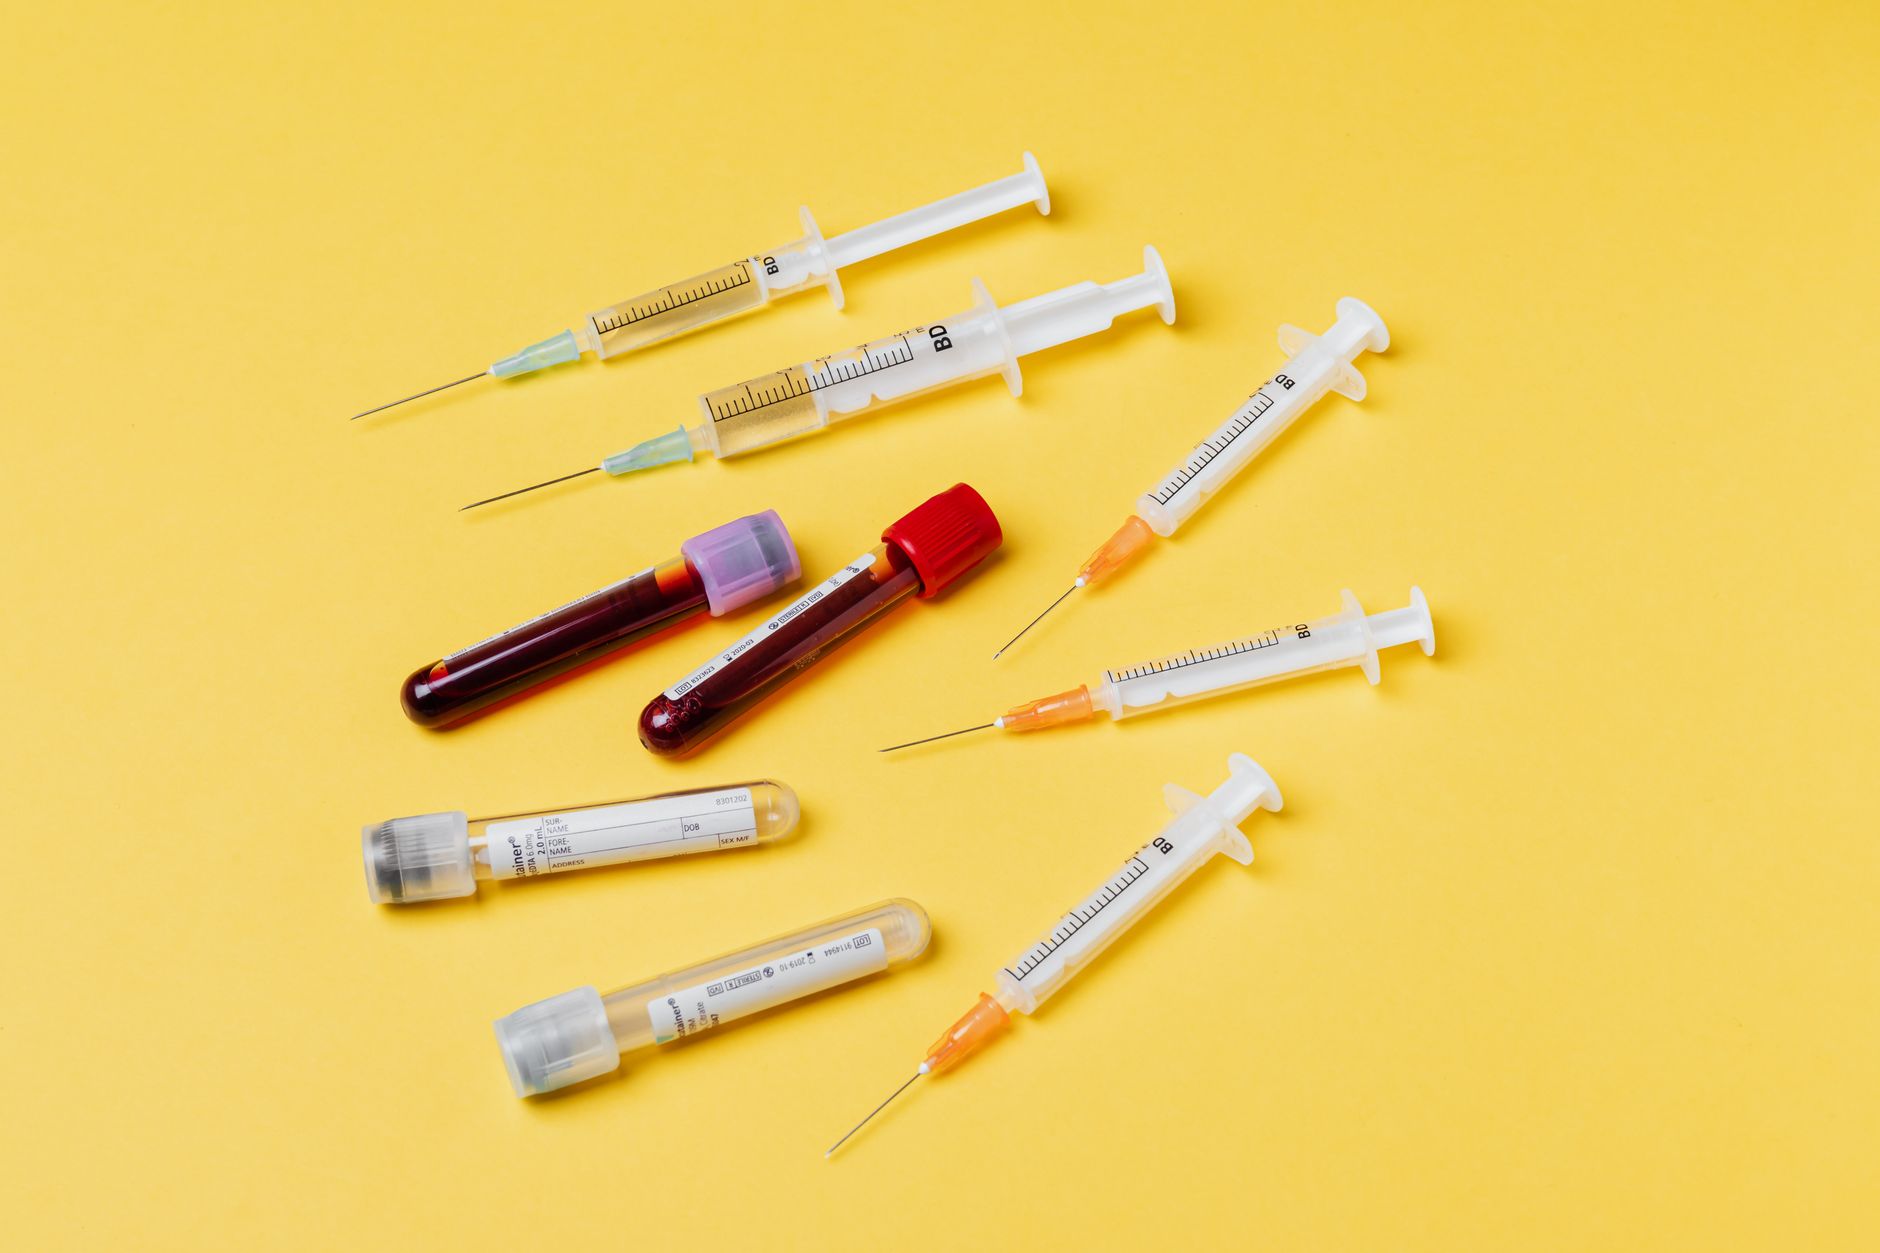
Most research peptides — including widely studied compounds such as BPC-157, TB-500, and CJC-1295 — are supplied as a lyophilized (freeze-dried) powder. Lyophilization removes water to keep the peptide chemically stable during shipping and long-term storage, but it also means the product is inert until you add a liquid to dissolve it. This step is called reconstitution, and it is where the majority of avoidable errors occur.
Reconstitution is not a trivial mixing step. The way you rehydrate a peptide determines three things at once: the accuracy of every dose you measure afterward, the sterility of the solution, and the structural integrity of the molecule. A peptide is a short chain of amino acids held in a specific three-dimensional shape; that shape can be disrupted by mechanical stress, the wrong solvent, heat, or pH extremes. A denatured or aggregated peptide may be biologically inactive even if the label dose looks correct.
The consequences of getting this wrong fall into two categories. The first is dosing error — measuring far more or far less than intended because the concentration was miscalculated. The second is degradation or contamination — the solution looks fine but the peptide is partly destroyed or the vial is colonized by bacteria. Both are common, and both are preventable with a methodical workflow.
This guide walks through ten of the most frequent reconstitution mistakes, why each one matters at the molecular level, and the specific corrective practice for each. If you are new to the underlying chemistry, our explainer on what peptides are provides useful background. This article is for educational purposes only. Research peptides discussed here are not approved by the FDA or EMA for human use, and you should consult a qualified healthcare professional before handling any such compound.
How Do Dose Calculation Errors Happen?
Mistake #1: confusing total vial content with concentration. This is the single most dangerous and most common error. A vial labeled "5 mg" tells you the total amount of peptide in the vial — it says nothing about how concentrated the solution will be, because that depends entirely on how much liquid you add. Adding 1 mL of diluent to a 5 mg vial gives 5 mg/mL; adding 2 mL gives 2.5 mg/mL. Many users read "5 mg" and draw up what they believe is 5 mg without ever doing the division.
Mistake #2: mismatched units. Doses are typically prescribed in micrograms (mcg) while vials are labeled in milligrams (mg). One milligram equals 1,000 micrograms. A user who wants 250 mcg but treats the number as 250 mg has made a 1,000x error. Conversely, forgetting the conversion can lead to drawing a barely measurable volume.
Mistake #3: ignoring the syringe scale. Insulin syringes are graduated in "units" (IU), where 100 units = 1 mL, so each unit is 0.01 mL. The final step of dosing is converting your target volume into units on the syringe. The math is: injection volume (mL) = desired dose ÷ concentration, then units = volume in mL × 100. Skipping or fumbling this conversion is where otherwise careful preparation falls apart.
Consider a worked example with a 5 mg vial reconstituted in 2 mL of bacteriostatic water:
| Parameter | Value |
|---|---|
| Total peptide | 5 mg (5,000 mcg) |
| Diluent added | 2 mL |
| Concentration | 2,500 mcg/mL |
| Target dose | 250 mcg |
| Volume to draw | 0.1 mL |
| On insulin syringe | 10 units |
The reliable fix is to never do this arithmetic under pressure or from memory. A dedicated reconstitution calculator app lets you enter the vial strength, the volume of diluent, and your target dose, and it returns the exact number of units to draw — eliminating unit-conversion and division errors entirely. Because the calculator also shows you how diluent volume changes the per-unit dose, it doubles as a planning tool: you can choose a volume that makes your target dose land on a clean, easy-to-read syringe mark.
Which Diluent Should You Use — and Which to Avoid?
Mistake #4: using the wrong liquid to reconstitute. The choice of diluent affects both sterility and peptide stability, and the options are not interchangeable. The three most common candidates are bacteriostatic water, sterile water for injection, and plain or distilled water — and only the right context makes each one appropriate.
Bacteriostatic water contains 0.9% benzyl alcohol, a preservative that inhibits the growth of most bacteria. This makes it the standard choice when a reconstituted vial will be entered repeatedly over days or weeks, because each needle entry is an opportunity to introduce microbes. The benzyl alcohol provides a margin of safety against slow contamination between uses.
Sterile water for injection is sterile at the moment of opening but contains no preservative. It is appropriate only for single-use scenarios where the entire vial is prepared and consumed at once. If used for a multi-dose vial, any organism introduced during a needle entry can proliferate freely.
Plain tap, distilled, or "drinking" water should never be used. It is neither sterile nor preservative-containing, and it may carry minerals or microbes that contaminate the solution or interact with the peptide. Using non-sterile water is one of the fastest routes to a spoiled, potentially hazardous vial.
A few peptides have special solubility requirements and may need a small amount of acetic acid, sodium bicarbonate, or another solvent to dissolve fully before bacteriostatic water is added — always follow the specific guidance for your compound. When in doubt, the conservative default for multi-use research reconstitution is bacteriostatic water, stored and handled as described below. Always consult a healthcare professional regarding any preparation intended for human exposure.
How Do You Prevent Contamination?
Mistake #5: skipping aseptic technique. A reconstituted peptide vial is a sterile environment that you breach every time you insert a needle. Contamination rarely produces an obvious visual change at first, which is exactly why it is dangerous — a colonized vial can look perfectly clear while harboring bacterial growth that compromises both the peptide and anyone exposed to it.
The foundation of contamination control is aseptic technique: a consistent set of habits that minimize the introduction of microbes. Before handling anything, wash your hands thoroughly and work on a clean, uncluttered surface. Swab the rubber stopper of both the peptide vial and the diluent vial with a fresh 70% isopropyl alcohol pad and allow it to dry — alcohol kills microbes through evaporation, so wiping it off immediately defeats the purpose.
Use a new, sterile needle and syringe for every entry, and never let the needle touch the outside of the vial, the countertop, your fingers, or any non-sterile surface. Once a needle has been used, it is no longer sterile and should not re-enter a vial. Reusing needles is a leading cause of both contamination and inaccurate dosing, since needle tips dull and barb with each use.
Be alert to visual warning signs even though their absence does not guarantee sterility: cloudiness, particulates, discoloration, or a visible film all indicate that a vial should be discarded immediately. Never attempt to "rescue" a suspicious vial. When you have finished, recap or properly dispose of sharps in a designated container, and store the vial as described in the storage section. Contamination prevention is not a single step but a discipline applied to every interaction with the vial.
Why Is Vigorous Shaking a Problem?
Mistake #6: shaking the vial to speed up dissolution. It is tempting to shake a vial vigorously to dissolve the powder faster, but this is one of the most damaging things you can do to a peptide. Peptides are surface-active and shear-sensitive molecules, and the mechanical forces generated by shaking can physically disrupt their structure.
The problem is twofold. First, vigorous agitation creates foam and a large air-liquid interface. Peptides tend to migrate to and adsorb at these interfaces, where their folded structure can unravel — a process called denaturation. Second, the shear forces from shaking and the bursting of bubbles can drive aggregation, where individual peptide molecules clump together into larger, biologically inactive (and potentially immunogenic) particles. Protein and peptide formulation research consistently identifies agitation and air-liquid interfacial stress as major drivers of aggregation.
The correct technique is gentle and deliberate. Add the diluent slowly, aiming the stream of liquid down the inner wall of the vial rather than directly onto the powder pellet. This lets the liquid run gently over the peptide instead of blasting it. Once the diluent is added, do not shake — instead, swirl the vial gently in a slow circular motion, or simply set it aside and let it dissolve on its own. Most peptides go fully into solution within a few minutes; some take longer and may need occasional gentle swirling.
If a peptide is slow to dissolve, patience is the answer, not force. Letting the vial rest at room temperature for several minutes almost always completes dissolution without any mechanical input. Visible foaming, persistent bubbles, or a cloudy solution after mixing are signs that the peptide may have been stressed. The goal is a clear, particle-free solution achieved with the least mechanical energy possible.
What Are the Most Common Storage Mistakes?
Mistake #7: storing reconstituted peptides incorrectly. Reconstitution changes the stability profile of a peptide dramatically. A lyophilized powder can often be stored frozen for months or years, but once it is dissolved, it becomes far more vulnerable to degradation from heat, light, and time. Mishandling storage silently reduces potency long before there is any visible sign.
The general rule for a reconstituted research peptide is to store it refrigerated at 2–8 °C and protected from light. Heat accelerates the chemical reactions — hydrolysis, oxidation, deamidation — that break peptide bonds and modify amino acid side chains. Leaving a vial at room temperature or, worse, in a warm car or sunny windowsill shortens its usable life considerably. Many peptides also benefit from being kept in their original carton or wrapped to block light exposure.
Mistake #8: repeated freeze-thaw cycles. Freezing a reconstituted vial for very long-term storage is sometimes appropriate, but each freeze-thaw cycle subjects the peptide to mechanical and osmotic stress that promotes aggregation. If you must freeze, aliquot the solution into single-use portions first so that you thaw only what you need, rather than repeatedly freezing and thawing one master vial. For most users working through a vial within a few weeks, simple refrigeration is preferable to freezing.
Be realistic about the in-use shelf life. Even when stored correctly, a reconstituted peptide is generally considered usable for a limited window — often on the order of 2 to 4 weeks, though this varies by compound. Label every vial with the reconstitution date and the calculated concentration so you are never guessing. The table below summarizes typical handling:
| State | Storage | Typical window |
|---|---|---|
| Lyophilized powder | Freezer, dark | Months to years |
| Reconstituted, in use | Refrigerated 2–8 °C, dark | ~2–4 weeks (compound-dependent) |
| Reconstituted, frozen aliquots | Freezer, single-use portions | Extended; avoid re-freezing |
Storage guidance is compound-specific, so verify the requirements for your particular peptide and treat these figures as general orientation rather than fixed rules.
How Do You Choose the Right Diluent Volume?
Mistake #9: choosing an awkward diluent volume. The amount of water you add is not arbitrary — it determines the concentration, and concentration determines how precisely you can measure each dose. Add too little diluent and your dose becomes a tiny, hard-to-read fraction of a syringe unit; add too much and large injection volumes become impractical or the vial runs out faster than expected.
The strategic goal is to pick a volume that makes your target dose land on a clean mark on the insulin syringe. Because each unit on a U-100 syringe equals 0.01 mL, you want your typical dose to correspond to a whole number of units — ideally somewhere in the readable middle of the scale rather than down at 1–2 units where measurement error is proportionally huge.
For example, if your target dose is 250 mcg from a 5 mg vial, reconstituting in 2 mL gives 2,500 mcg/mL, so 250 mcg = 0.1 mL = 10 units — an easy, precise mark to hit. The same vial reconstituted in 5 mL would make 250 mcg equal to just 5 units, while reconstituting in 1 mL would put it at 5 units of a more concentrated solution. There is rarely a single "correct" volume; there is a volume that makes your dosing the most accurate and convenient.
This is precisely the kind of trade-off a reconstitution calculator app is built to solve. Instead of trial-and-error, you enter your vial size and desired dose and the calculator shows you what each candidate volume produces in syringe units, letting you select the cleanest option before you ever pierce the stopper. Planning the concentration deliberately — rather than defaulting to "1 mL because that's what I did last time" — is a hallmark of careful technique. If you are combining multiple compounds, our guide to peptide stacking discusses additional considerations.
What Equipment and Handling Errors Should You Avoid?
Mistake #10: using the wrong equipment or rushing the workflow. Even with perfect math and a good diluent, sloppy equipment choices and handling undermine the result. The tools matter as much as the technique, and a few specific errors recur constantly.
The most common equipment mistake is using a syringe with the wrong scale or excessive volume. For typical micro-doses, a low-volume insulin syringe (e.g., 0.3 mL / 30-unit) allows you to read small measurements far more precisely than a large 1 mL barrel. Trying to measure 8 units accurately on a coarse syringe introduces real error. Always match the syringe to the volume you actually need to draw.
Another frequent problem is injecting diluent forcefully directly onto the powder. As covered earlier, the diluent should run gently down the vial wall. Related to this is failing to equalize pressure: when you withdraw liquid from the diluent vial, the vial develops negative pressure; injecting a small amount of air first or working slowly prevents the plunger from fighting you and reduces the chance of spraying or bubble formation.
Air bubbles deserve their own attention. After drawing a dose, tap the syringe to bring bubbles to the top and gently expel them before measuring your final volume — a bubble where the liquid should be means you are under-dosing without realizing it. Take the reading at eye level to avoid parallax error in reading the meniscus against the scale.
Finally, do not rush. Reconstitution and dosing are precision tasks, and the errors above cluster around haste: skipping the alcohol swab, eyeballing the volume, reusing a needle to save time. Lay out all your equipment beforehand — vials, syringes, alcohol pads, sharps container — and move through the workflow deliberately. A calm, prepared workspace is itself a form of error prevention.
What Does a Correct Reconstitution Look Like, Step by Step?
Bringing the ten mistakes together, here is the disciplined workflow that avoids all of them. Treat it as a checklist you run every single time, because consistency is what makes errors rare.
1. Calculate first. Before touching any vial, determine your concentration and dose using a reconstitution calculator app. Decide how much diluent you will add so that your target dose lands on a clean syringe mark, and confirm the exact number of units you will draw. Doing the math upfront removes the most dangerous variable from the rest of the process.
2. Prepare the workspace. Wash your hands, clean the surface, and lay out the peptide vial, bacteriostatic water, sterile syringes, fresh 70% alcohol pads, and a sharps container. Swab both vial stoppers and let them dry.
3. Add diluent gently. Draw the calculated volume of bacteriostatic water, insert the needle through the swabbed stopper, and let the liquid run slowly down the inner wall of the peptide vial. Never spray it onto the powder.
4. Dissolve without force. Swirl gently or let the vial rest until the solution is completely clear. Do not shake. Discard the vial if you see cloudiness or particulates.
5. Label and store. Mark the vial with the date and calculated concentration, then refrigerate at 2–8 °C away from light. Use within the validated window for your compound.
6. Dose with clean technique. For each dose, use a new sterile syringe, swab the stopper, draw the calculated units, tap out air bubbles, and verify the volume at eye level.
This workflow is straightforward, but its value lies in being followed without shortcuts. For foundational context on the molecules themselves, revisit our overview of what peptides are, and for compound-specific monographs see our guides to BPC-157 and GHK-Cu. This content is educational only. The peptides referenced are research compounds that are not approved for human use, their legal status varies by jurisdiction, and you should consult a qualified healthcare professional before handling them.
Recommended products
Research peptides selected for quality and purity:
GHK-Cu
Anti-Aging Compound
Test your knowledge
Quick quiz · 6 questions
Frequently Asked Questions
What water should I use to reconstitute peptides?
Why shouldn't I shake the vial when reconstituting?
How long does a reconstituted peptide last?
How do I calculate the correct dose after reconstitution?
What are the warning signs that a reconstituted vial is contaminated or degraded?
Sources
- Manning MC, Chou DK, Murphy BM, Payne RW, Katayama DS (2010). Stability of Protein Pharmaceuticals: An Update. Pharmaceutical Research.
- Wang W, Nema S, Teagarden D (2010). Protein aggregation — Pathways and influencing factors. International Journal of Pharmaceutics.
- Bee JS, Stevenson JL, Mehta B, et al. (2009). Response of a concentrated monoclonal antibody formulation to interfacial and mechanical stress. Biotechnology and Bioengineering.
- Lam XM, Patapoff TW, Nguyen TH (1997). The effect of benzyl alcohol on recombinant human interferon-gamma. Pharmaceutical Research.
- Frokjaer S, Otzen DE (2005). Protein drug stability: a formulation challenge. Nature Reviews Drug Discovery.
- Wang W (2000). Lyophilization and development of solid protein pharmaceuticals. International Journal of Pharmaceutics.